
Use Diagnostic Charge to diagnose and charge a battery installed and connected in a vehicle using test parameters determined by vehicle VIN or year, make, and model of the vehicle being tested.
At any time during the test, tap ![]() to return to the previous screen; or
to return to the previous screen; or ![]() to return to the Main Menu.
to return to the Main Menu.
Diagnostic Charge
1. Connect the DCA clamps to the battery.
2. At the Main Menu, tap Diagnostic Charge.
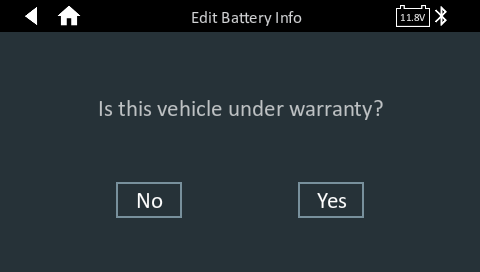
3. You will be prompted to select if the vehicle is under warranty. By selecting Yes, you will be required to capture the associated VIN. By selecting No, VIN capture will become optional.
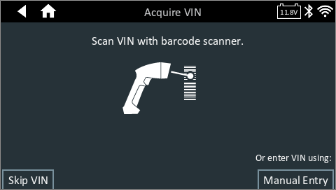
4. Next you will capture the VIN via the wireless barcode scanner, manually entering the VIN, or if the vehicle is not under warranty a Skip VIN button will be available.
5. Once you have captured the VIN, the Battery Information screen will appear. You will select the Battery Type and Test Location. Select Next once the battery information is correct and you are ready to proceed.

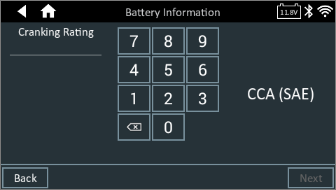
6. The Cranking and Capacity Rating selection screens will appear. Enter the ratings and select Next.

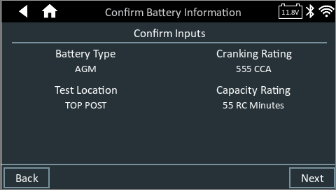
7. The Battery Confirmation screen will display. If all criteria selected are correct, select Next to begin the test. If they are incorrect, select back until you get to the screen you need to edit.
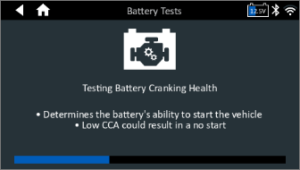
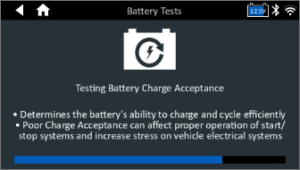
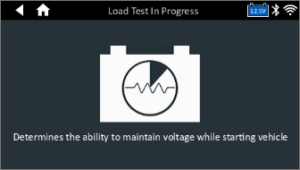
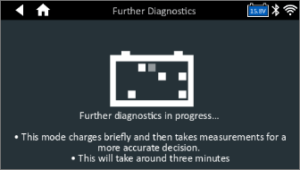
8. Next, the diagnostic charge will begin and provide progress updates on screen as the test progresses.

9. Next the tool will go to a results screen, providing information on the initial result of the battery as well as the status of requiring a charge. If a battery decision of Replace or Battery is Good – Stop Charge and return to service are seen, the battery testing and charging is complete and you can remove the clamps from the battery. If you get a Battery is Good – Charging for Service, Stratified – Recovery Time Needed, or a Deeply Discharged Battery – Charge Time Extended result, you should allow the battery to continue being charged to ensure optimal state of charge before returning the vehicle to your customer. If the charge is allowed to complete, the end result will be a Replace or a Battery is Good – Stop Charge and return to service result.
Icons are color-coded to indicate status:
- GREEN: All test parameters were completed and have passed
- RED: The battery has failed the test
- YELLOW: Some test parameters may require further testing
- WHITE: Insufficient date to perform the test
NOTE: Refer to the Test Results Decision Tables article for a complete definition of possible test results.
10. Next you can select Output Results to Print or Email the test result, select Press for Barcode to see the GDS barcode, select System Test to run a starter and alternator test, or select Done to return to the Main Menu.

System Test
1. Start the engine and let it idle.
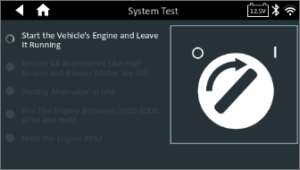
2. Turn off all electrical accessories such as headlights and the interior ventilation blower fan for the test to continue.
3. The analyzer tests the alternator output at idle.
4. When prompted, rev and hold the engine to between 2000 to 3000 RPM. The tool tests the alternator output again.
5. Tap Next to display the test results.

A Test Results – Summary screen is displayed following a System Test. Tap > to view detailed test results for each part of the test.
NOTE: Refer to the Test Results Decision Tables for a complete definition of possible test results.
6. Select Send Results to Print or Email the test results. Select Done to return to the main menu.